Reduce video file size without losing quality | HEVC Compression
Reduce video file size without losing quality | HEVC Compression
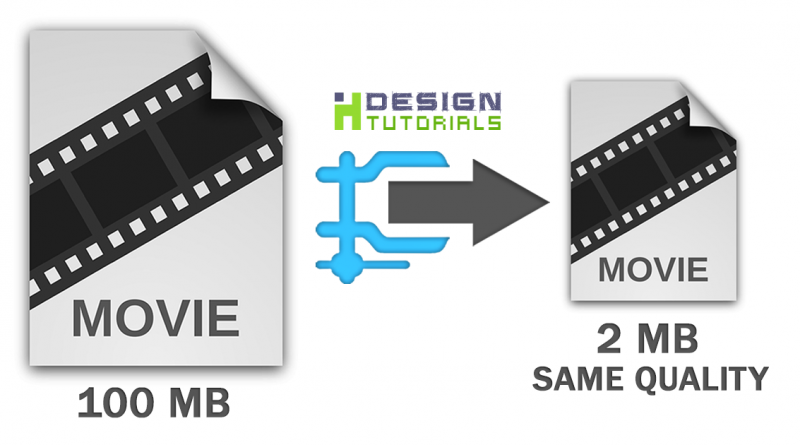
in this quick guide we will discover the best , and latest solution on how to reduce video file size or video datarate to the limit without affecting or losing video image quality.
here are some important reasons why you should reduce video size :
- preserving more storage space on your devices like( hard disk, usb, cd, mobile phones, etc..)
- decreasing uploading time to video hosting sites like ( youtube , vimeo , etc .. )
- preserving your personal internet or website bandwidth
- make your video fastly reachable on the internet
- reducing video downloading and loading time for your website visitors
- creating a video that will be easier to share and stream
- reducing the huge file size of a DSLR , 4K or 8K cameras footage.
what do you need to reduce video file size without affecting the quality
1- video compressor “encoder or converter softwares”
you can reduce video file size by using video editing softwares like Adobe Premiere Pro CC or Final Cut “latest versions” or by using an encoder like Adobe Media Encoder CC 2017 also if you are not familiar with video editing softwares you can easily use video converters like :
“Apowersoft Video Converter Studio” or “HD Video Converter Factory Pro” both are available for trial download for Mac & pc.
2- Video coding format that works best for bitrate reduction with improved video quality
there are many codecs and video compression formats to choose from like ( AVC H.264 , MPEG-4 , MP4 HD , FLV , 3GP , MOV , etc…) , but in this guide i will fastly tell you what the best ,and latest video compression solution to make it easier for you.
High Efficiency Video Coding (HEVC)
compared to previous video compression formats HEVC is the best digital video compression type until nowadays and its becoming the main widely used video codec everywhere, Especially with the spread of 4K cameras, HEVC compression makes it easier to share , store and stream those big resolution formats , and Not like its ( predecessor the AVC H.264 or MPEG-4 ),HEVC offers about double the data compression ratio at a better level and improved video quality at the same bit rate “know more about HEVC from HERE”.
Here is a quality comparison between “HEVC” , “AVC H.264” and “AVC MPEG-4” :
![]() Click on the image to see the full size
Click on the image to see the full size
( quality comparison between “HEVC” , “AVC H.264” and “AVC MPEG-4” )
now let me show you step by step two different methods to reduce the file size of your videos to the limit and without losing image quality.
A - using both Adobe Premiere Pro & Adobe Media Encoder CC 2017 to convert your videos to "HEVC/H.265" :
watch the following detailed tutorial to know how to use both Adobe Premiere Pro and Adobe Media Encoder CC 2017 to compress and convert videos into HEVC/H.265 format.
NOTE : to playback HEVC videos on Windows 7 you may need to download and install the “Media Player Codec Pack” which is compatible with Microsoft Windows 10, 8.1, 8, 7, Vista & 2008, and Microsoft Windows Media Player 12, 11 & 10 ,download it for free from Here :
if you are a Mac OS X user you can easily download VLC player Here to preview HEVC files.
B - using a video converter :
in method B – let’s explain how to compress or convert videos to HEVC/H.265 format using “Apowersoft Video Converter Studio”.
in this example i will compress my Canon 7D DSLR full HD “footage” which is natively an MPEG-4 / 47800 Kbps .mov file and convert it into HEVC/H.265 format with a bitrate of 1000 Kbps.
1- open “Apowersoft Video Converter Studio”
![]() Click on the image to see the full size
Click on the image to see the full size
2- click on add files button to import a video file.
![]() Click on the image to see the full size
Click on the image to see the full size
3- navigate to your video folder , select the video then click on open.
![]() Click on the image to see the full size
Click on the image to see the full size
4- click on profile menu then select the HEVC/H.265 and click the first preset at the top “Same as source”.
![]() Click on the image to see the full size
Click on the image to see the full size
5- click the settings button to open the preset editor then apply the following changes :
![]() Click on the image to see the full size
Click on the image to see the full size
change quality to custom
set video frame rate to original, in my case it’s 23.97 fps
set video resolution to original
set video bitrate to 1000 Kbps
set audio sample rate to 44100 Hz
set audio channels to stereo
and set audio bitrate to 256 Kbps then click on OK
6- change the output to a folder of your choice, then click on convert to start the conversion.
![]() Click on the image to see the full size
Click on the image to see the full size
as a result after this video conversion, the data rate & the file size of my DSLR Footage was reduced by more than 97% , “from 202 Mb to 5 Mb” and the quality still looks the same as original.
![]() Click on the image to see the full size
Click on the image to see the full size
i hope this guide was helpful for you.
please make sure you follow our page on facebook and subscribe to our youtube channel to get informed each time we post new articles and tutorials.


